Hiking for the Soul - Photography - Kensington, MD

As I try and find comfort during this time I often look out into nature. Bob Ross said it best when talking about painting in the context of nature,

Nature Photography - Meghan LaPrairie Photography

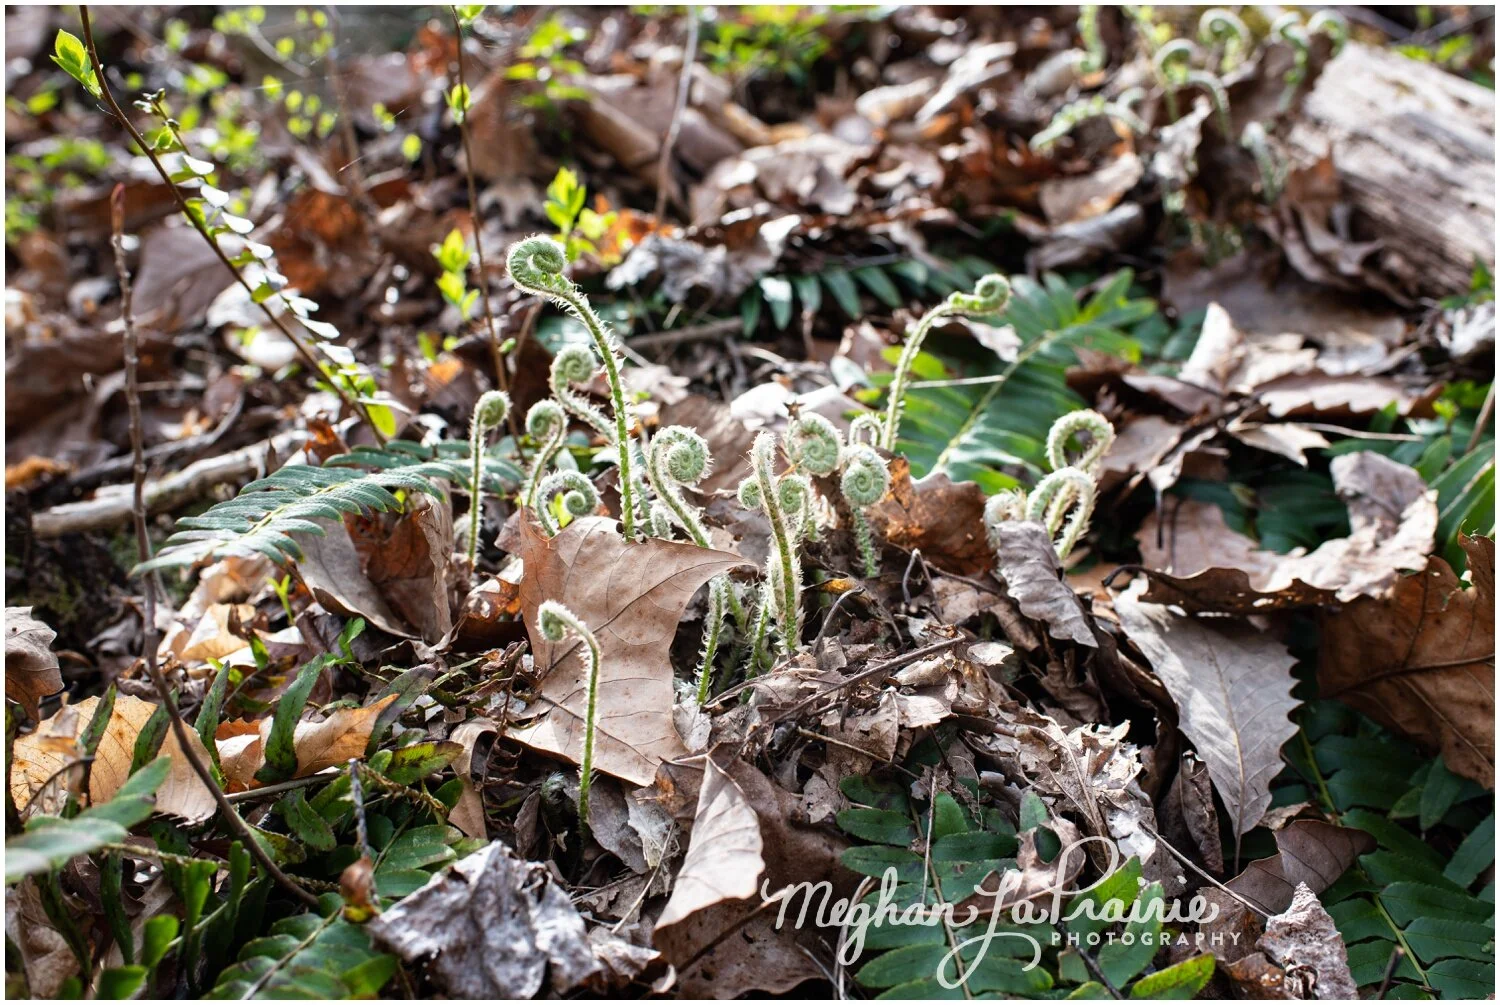
And I often think of that in the context of photography. I look at a flower from above or I gaze at the world from atop a tree. Sometimes I lie on my back and watch the trees overhead and the space that makes up the seperation of that which is rooted to the ground and the sky.

Family Photography - Meghan LaPrairie Photography

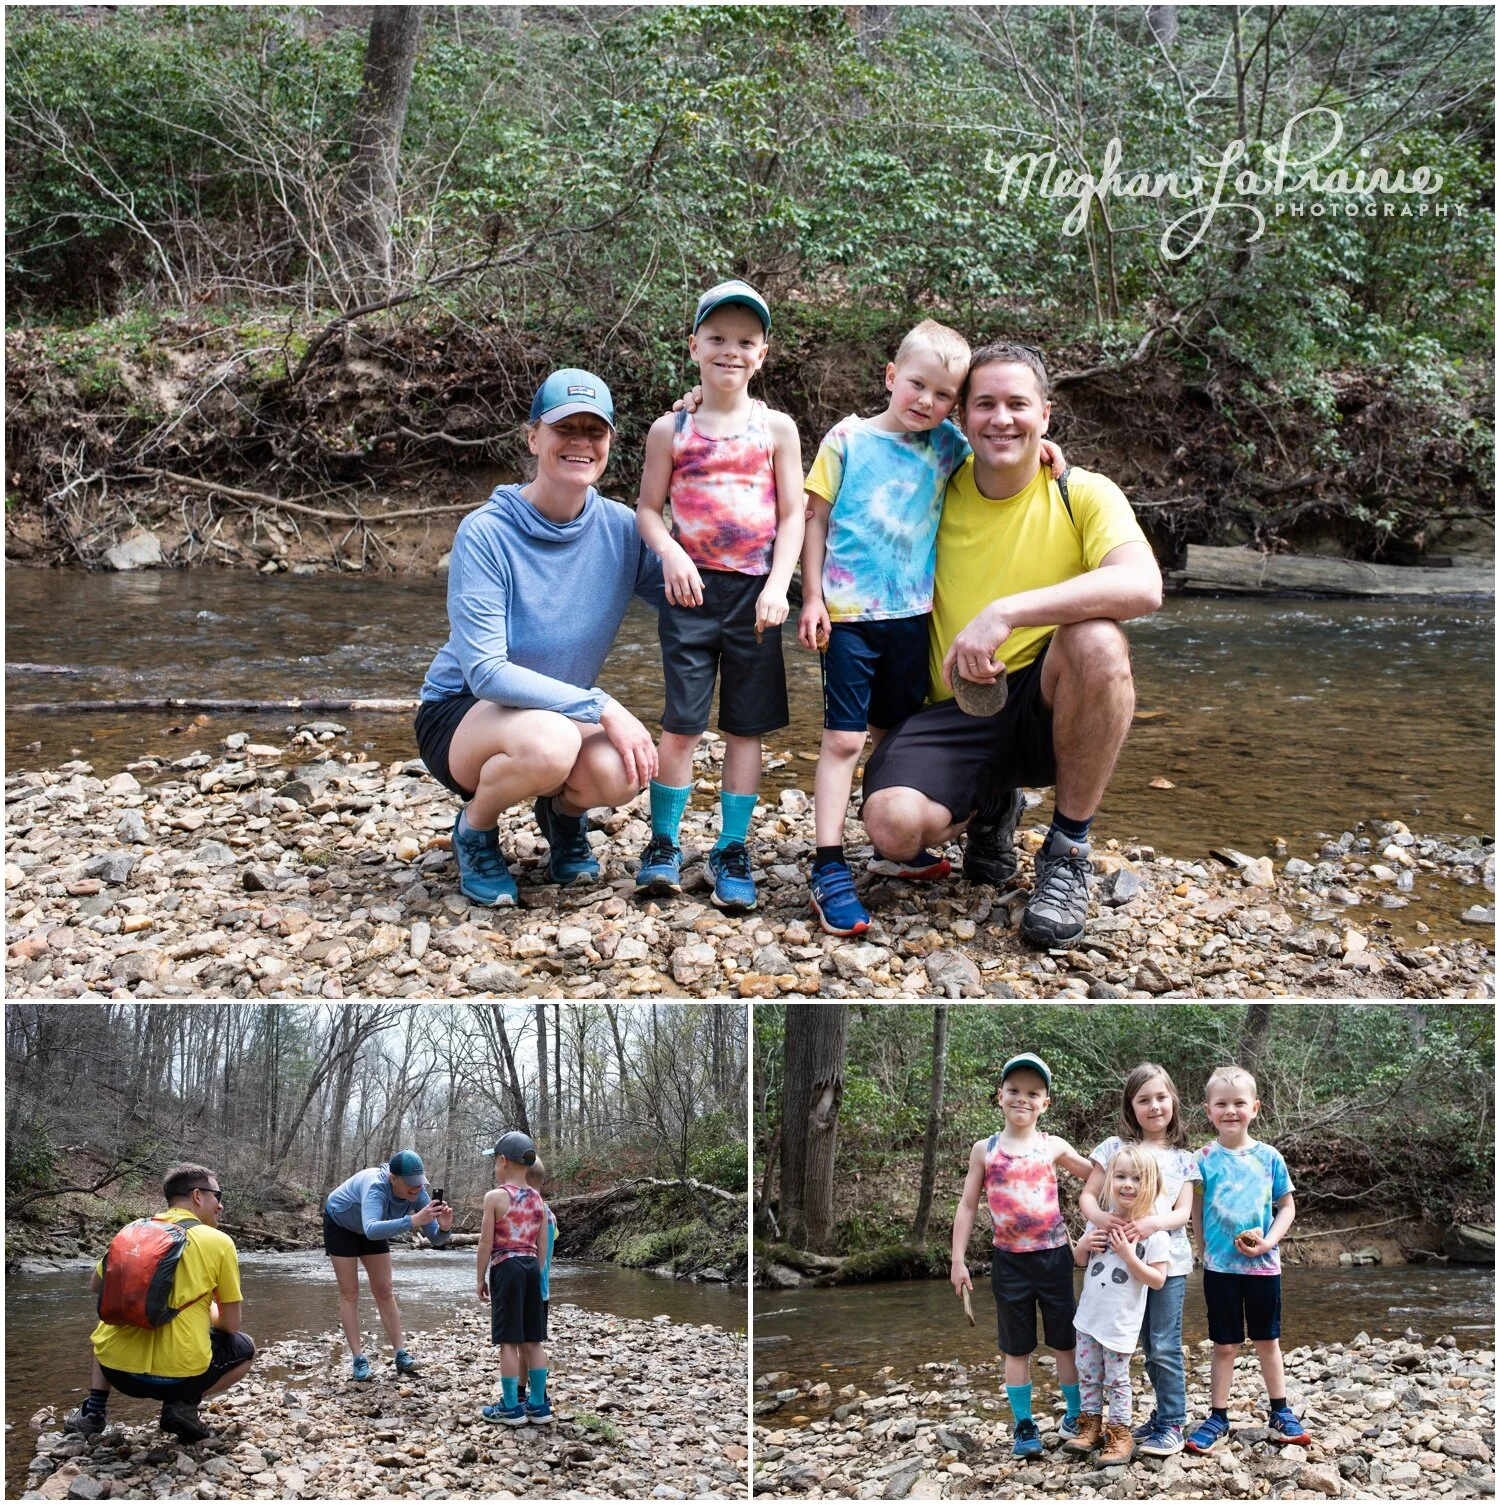
As the news of our new realty set upon us we created a quarantine collective of families that decided to weather the storm in each others circles. There were hikes and dinners and in many ways life as normal was able to resume. Only life was anything but normal. Never the less, this community made us stronger together to weather the storm.

Family Photography - Meghan LaPrairie Photography

We supported each other and leaned on each other and when we were lucky swapped kids so that the adults could have some time to themselves. But on the day these photos were taken we knew nothing of what lay ahead of us. Only that we were setting out to weather it together come hell or high water.

Nature Photography - Meghan LaPrairie Photography

Little flowers, plants and mushrooms have me thinking about starting my own painting project. What new hobbies or skills have you picked up in quarantine. Leave me a comment below—I would love to hear what you have been busy with.

Nature Photography - Meghan LaPrairie Photography

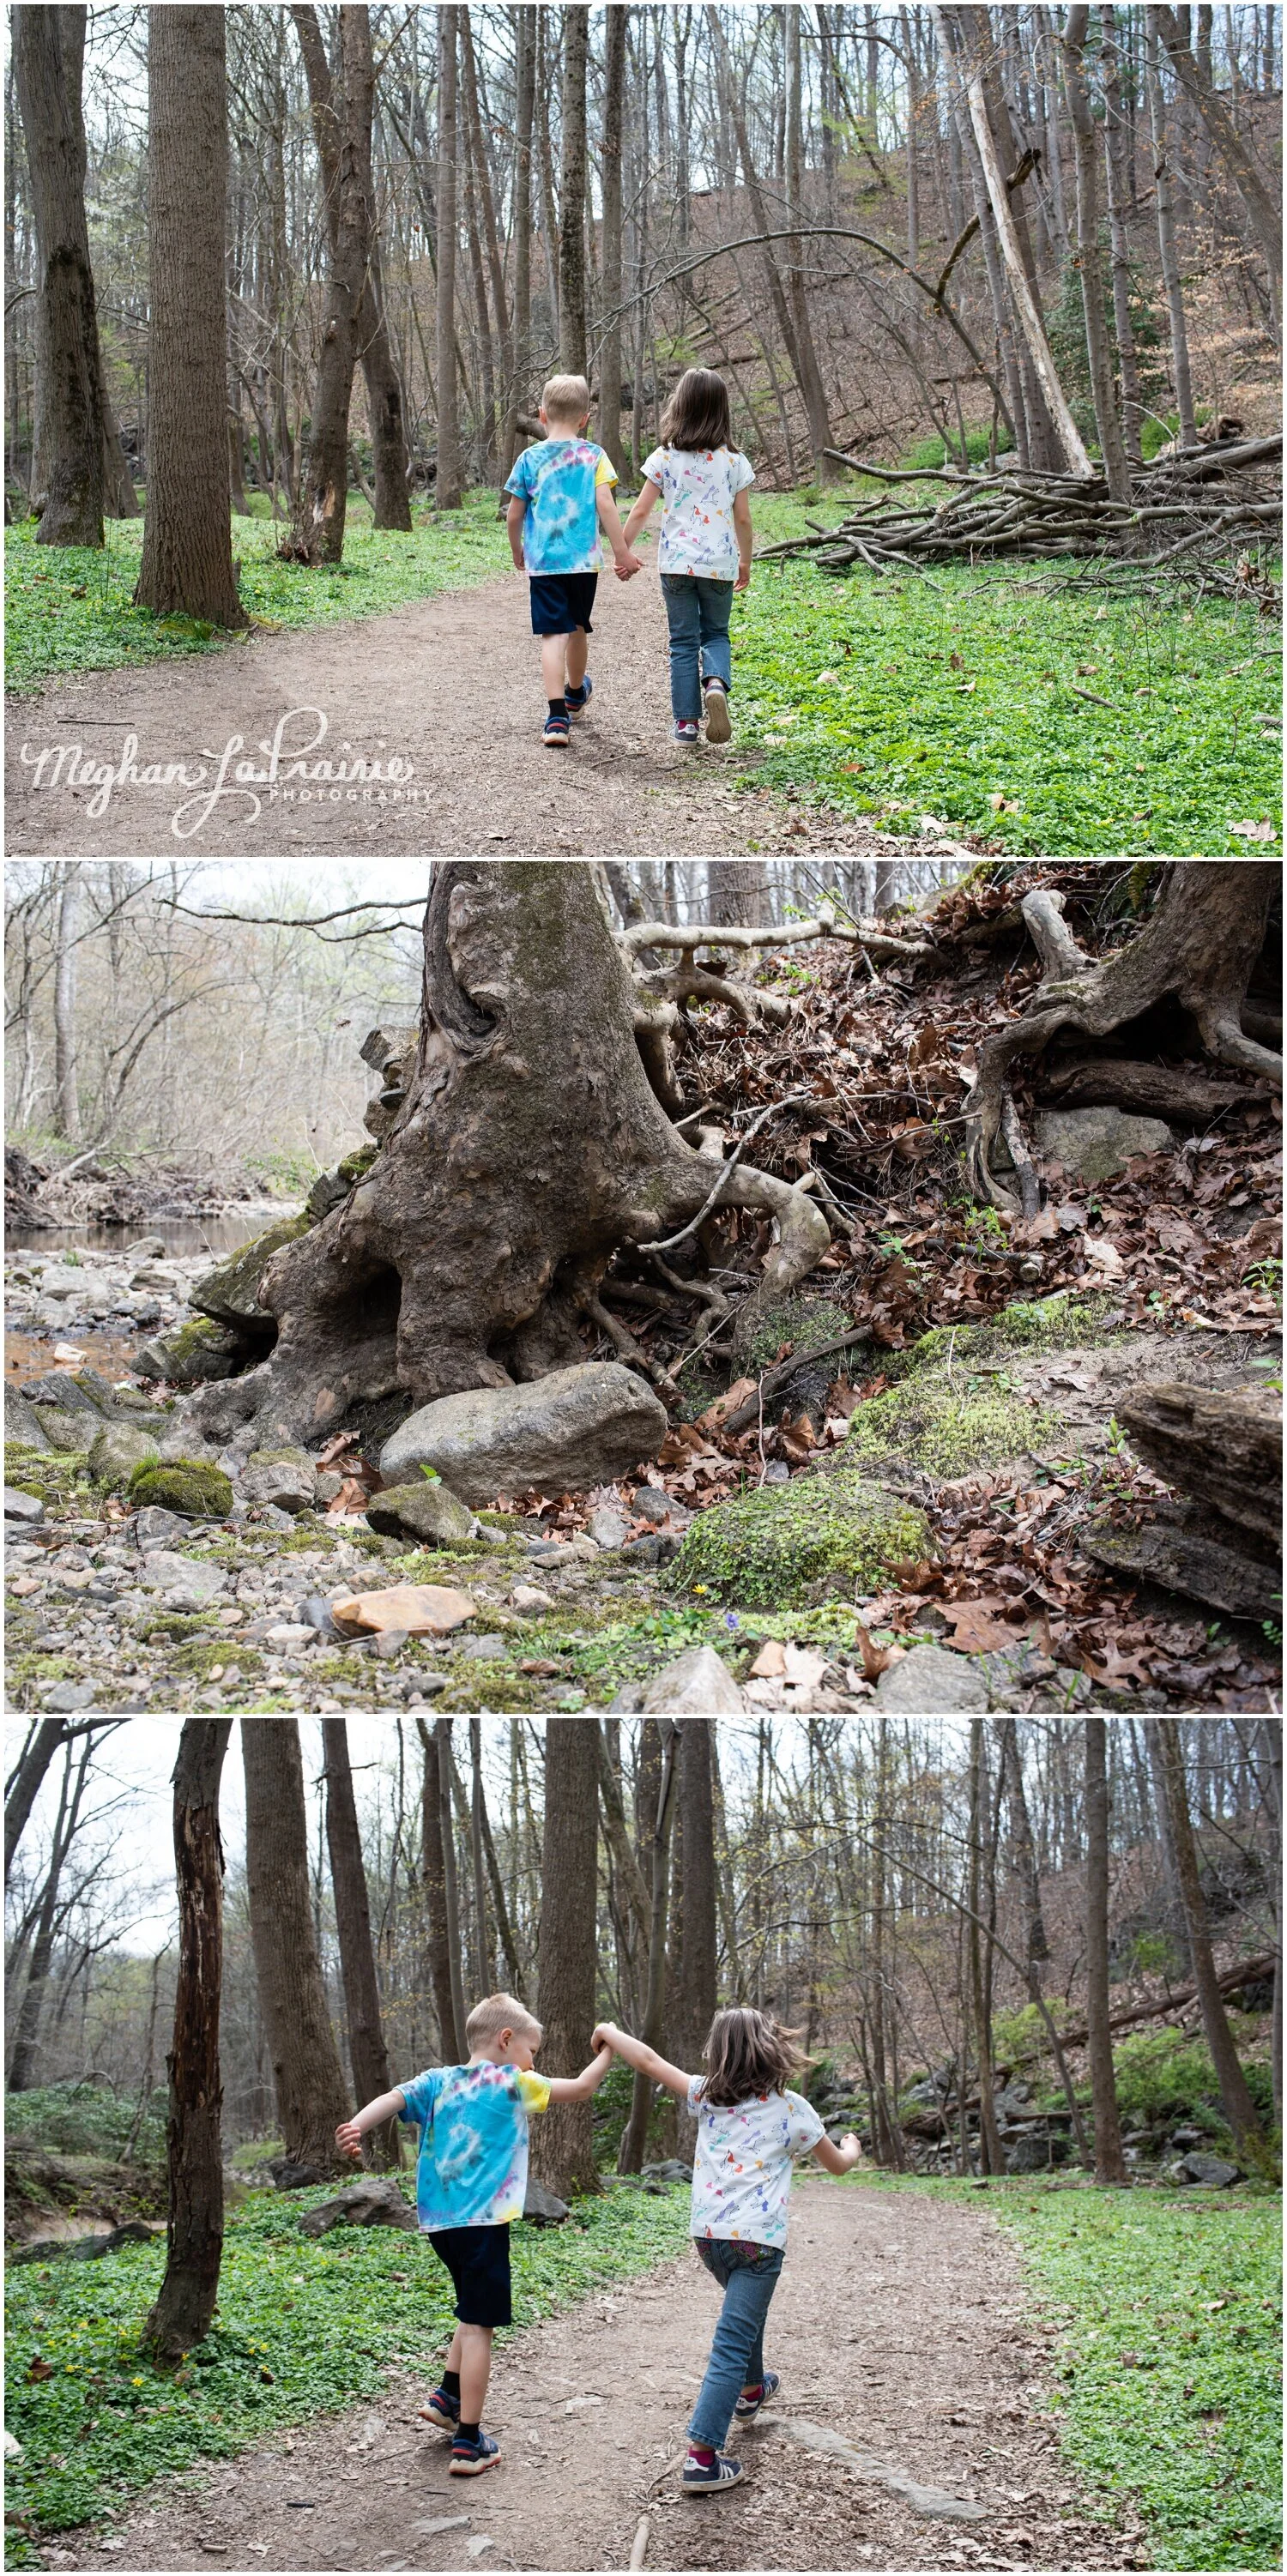
In the fresh air and the beautiful scenery it is easy to appreciate all that is around me. Being outdoors makes me think deeply about our relationship to nature and our responsibility to preserve and protect it.

Day in the Life - Meghan LaPrairie Photography

If you’re feeling overwhelmed I recommend stepping back into the past and listening to the likes of Bob Ross. you may find that the ASMR of his voice along with the sounds of his brushes on the canvas and the excess paint being tapped off onto his easel brings me a feeling of peace, I hope that it may also provide you with a feeling of euphoria and allow you to calm any anxiety you may be working though. Plus it always helps to surround yourselves with friends and family.

Happy photographing!

Timing: Maternity and Infant Photography

Having a baby for the first time is such a special and monumental event in couples lives. Carrying a child is life changing and holding that little one for the first time is breathtaking.

Being able to photograph these changes and developments for my clients is something I take great joy in and I wanted to give you some advice for photographing expecting mothers and little ones.

Timing with Maternity Photography I like to schedule clients between 30-35 weeks pre term. Before that, they may be showing their bump but it may not be incredibly pronounced. And after 35 weeks they may be too pregnant to pose comfortably and entertain you in their home. That said, I have photographed a woman who was due the next day and she looked ready to run a triathlon.

Timing with Infant Photography Ideally you want to let the parents settle into a routine with the new baby before you photograph them all together. Basically, anytime in the first month is a good marker but I try to shoot for 1-3 weeks old.

Meet and Greet A Maternity Session can serve as a meet and greet in the same way that the engagement session can before the wedding. It is a chance for you to determine if you wish to work with the clients again and likewise, for them to determine if your style and personality fits with theirs.

Baby has Arrived Check in around their due date and do not be surprised if you do not hear from them right away. Although an infant does not do much, they also cannot do much for themselves and therefore their parents have to feed and change them every few hours at first-- which really takes some getting used to.Make Yourself Comfortable Be prepared to stay a while. When it comes to infants you are on their time. If you usually book 60-90 minute sessions, be prepared to be available for 120 min or more. The baby may need to eat and be changed, eat and be changed again in between your taking magical photos of the baby miraculously not crying. Have patience.

The Set Up Natural light is best and so using a bobby to prop up the baby and a blanket as a backdrop and base near a window may be all you need. Babies are not a huge fan of being changed so if you want a photo of the baby in nothing but their diaper, have mom change them and then feed them. After that the baby may be sleepy enough for you to photograph. A space heater can be a life saver. Make sure that the baby is kept warm in the environment that you are working in. This will assist in keeping a happy subject.

So have fun, be creative and plan your time accordingly.


Sometimes We Need a Little Space

The other day I was at the park with a friend taking our little people on a hike. We got to chatting about photography and eventually about printing. My friend mentioned how frustrating it was that when she had a digital photo printed as an 8x10” that her printed image came back cropped. I then explained to her what I will now share with you, as it inevitably will affect the way that you shoot.

Playing it Safe Take this first photo of a portrait of a family. You can see the original image, the image if it were to be printed as a 5x7” print as well as if it were printed as an 8x10”. You can see that I left enough space around the family so that I did not crop into their faces or bodies.

Consequences of Tight Framing However, if you look at these three photos that I took during the beginning of my photography career you will see that although the original images look well spaced, that when I went to print them, that I would lose a significant portion of the photo-- thus cropping into the subject. The grayed out area shows what would be cropped from the image.

Aspect Ratios The reason that you lose your a portion of your image when you print it comes down to ratios. Most DSLR have a sensor with an aspect ratio of 3:2 which is great if you wish to print say, 4x6” which are also at a ratio of 3:2. On the contrary, an 8x10” print will be at a 4:5 ratio, which is why some of your image will be cropped.

Choose Custom Cropping When you go to print your photo most kiosks or online printers will allow you to crop your image to the size you want, and if they are good at what they do, they will inform you if your resolution is adequate for the size you wish to print. Always choose to custom crop your image. Otherwise the default will be to center crop your image automatically cropping the same amount from each side of your image and taking the control away from you.

Native Print Sizes Some sizes that will be native to your Dslr are 4x6”, 8x12” and 12x18”. Some print sizes that are not native are 5x7”, 8x10”, 12x16”.

Work Arounds But what if you have already composed your subject in a tight shot?

1) Add a Digital Border to Your Image. Although the border will not be even, it will allow you to keep the space around your image and could create an artistic look. One time I took an image into Photoshop, created a new layer, added a gaussian blur to the bottom layer and thus had all of the colors from the image in the background layer to create a nice border. If you find this is too busy, solid white or solid black are great options as well.

2) Clone Your Image. Although tedious, cloning your image can add that extra space that you may need. In Photoshop use the Clone Stamp Tool and click “alt” to select the area you wish to clone. For faces you will want to set your opacity to around 11. For a wall or grass you could use an opacity of around 60. I almost always use a soft brush. It will take some finessing but with some practice you’ll get the hang of it.

3) Change Your Print Size. Say you want to frame your image in a 12x16” frame. Take your image and print it as an 8x12” instead of an 8x10”. Although you will have to order a custom matte for your frame you will not lose any of your image.

4) Allow Three Inches. If you are planning to print your image on canvas, try to wrap the sides of the canvas in black or white. If you would like to wrap the image around the canvas then allow yourself up to 3” around to ensure you do not lose any of you image. Assuming you wish to print a 12x18” canvas, be sure to crop your image from its RAW state into a 15x21”. The convert your file to a high resolution JPEG at 300 dpi.

Lasting Tip Give yourself more space around your subject when you take your photos. Then, when you go to print you will not have to worry about aspect ratios.